Chunk sat and watched me knit. He sat and stared longingly at my needles, hoping he was going to get a new toy to play with! Sometimes when I am knitting, Chunk will bring me all of the toys I've knitted him and start a pile at my feet, as if to say, "I know what you're doing there, you made these things!" So, when he was so patient, only to realize that the little Mr. Monkey was not for him, I had to make it up to him. God, that dog's spoiled! Thus, this pattern was born. Chunk loves his ball, and he even throws it up in the air by himself. A free PDF is available to download here:

Monday, April 30, 2012


Mr. Monkey and Charity
My supervisor at work is pregnant and due in May. It's a girl, and my office is having a baby shower for her on Wednesday! While I am going to miss it due to my TMJ disorder, I still wanted to knit something for her! She has been my "test subject" for many baby items and original written patterns, and this time was no exception.
I am told that the baby's room will be decorated in pink and brown, and monkey-themed. I have never knit amigurumi before (I have crocheted it), so I looked to Ravelry for something suitable. I was hesitant to write a pattern, since I knew I would want to use short rows for shaping the face, and I'm not very experienced in that area yet. I finally settled on a charming little pattern written by Sarah Gasson, who donates proceeds from her pattern sales to various charities, including her local Hospice. Sarah's prices are extremely reasonable: I only paid $1.67 for this pattern!
For those of you who don't know me, my mother worked for Hospice for 30+ years as a social worker, and she very suddenly died 2 years ago after a nine day battle with stage 4 small-cell lung cancer. She dedicated her life to helping those at the end of their life, and Hospice helped us through dealing with the end of her life as well. I thought it would be wonderful to purchase a pattern from someone who donates to that same cause. If you would like to purchase patterns from Sarah, you may do so via her website, or through her Ravelry page.
Here is the finished product:

The monkey is actually worked flat, then sewn up the back. The same goes for the arms, ears, legs and tail. I actually preferred this method, as I always get ladders using DPNs. I think the color changes would have been extremely difficult were this pattern written for DPNs.


In order to get better definition of the face, I placed a few stitches to cinch the outer side of each eye, as well as from between the eyes to under the chin. This ensured that the shape will stay the same through light play. While I added those to the original pattern, the pattern does call for a similar method to be used for the neck shaping.
Sarah offers her patterns for sale as individual projects, or as collections. This is a great idea! You can purchase a Christmas collection, a Farmyard collection, and more. Mr. Monkey came from her Safari collection, but I purchased just the monkey pattern alone.
Lastly, I want to make clear that I am not being paid to feature this knitting pattern on my blog, I simply really enjoyed this pattern and wanted to share the good cause with my readers! I hope you enjoy it too!
Friday, April 20, 2012
A New Beginning...
I must apologize to all who have come to this blog expecting it to be about knitting. while I do a lot of knitting, I often use this blog for DIY projects as well. Because I want this blog to remain mainly about knitting, I have started a new blog and have copied all my non-knitting posts over to that blog. I will leave them here, with redirects to the new blog in the appropriate posts (as soon as I figure out how to do that). In the meantime, expect this blog to be strictly knitting from now on. If you would like to follow my new blog, you can do so at


Why I Pick Trash
Yep. I'm a trash picker. Why? Because people throw stuff out for no good reason! When my husband (then fiance') and I lived in an apartment complex, people would often throw out brand new furniture! And, of course, I was usually the first one out to the dumpster, snatching it up! Now, I know better than to grab a mattress or a couch (ewww), but over the years, we have acquired many things (some of which we still use today). Some of the items include an over-the-toilet shelf, a couple of lamps, an (solid!) oak entertainment center, a school desk, a metal cart with a built-in surge protector, and a very nice office desk that was custom-made by a company in Canada, originally costing over $1000.00 (don't you love Google?) in perfect condition. When I was in high school, I had an old school bus seat in my bedroom. I know, livin' the dream! My point is, don't "be above" stopping to check out something on the side of the road or near a dumpster, because it may possibly be awesome.
Now, we do have many pieces of furniture that we did purchase ourselves, but I get such a thrill from finding something for nothing, and making it into something beautiful. If I were to list the furniture that I bought at second-hand stores and refinished or reupholstered, this would be a much longer post.
My most recent hobby is to spruce up our backyard. We have remnants of a nice flower garden that was here several renters ago, and I have been trying to make it pretty again. I never was fond of yardwork, and the only experience I have in the art of gardening is when my dad made me rake the yard with him in the fall when I was a kid. Thus, it has been a bit of a learning experience, and mostly trial and error. In terms of the planting of things, plants are surprisingly inexpensive! however, any sort of garden "decor" is not. Luckily, due to my trash-picking habit, I snatched up an arbor my neighbors threw out last year, and it has been sitting in my garage, taking up space that was meant for my car. I finally took it out yesterday and decided to fix it up. Now, it's not the most expensive arbor, it's actually made of plastic (basically glorified PVC), and all the pieces were falling out of it. That is where this wonderful product came in:
Shoe Goo is the best adhesive I could have used for this project. Truthfully, it's the first thing I grabbed out of the junk drawer, but it's waterproof, flexible, weatherproof, and pretty fool-proof. Plus, it dries clear! I slopped this stuff on all the joints and stuck it back together.


Now, we do have many pieces of furniture that we did purchase ourselves, but I get such a thrill from finding something for nothing, and making it into something beautiful. If I were to list the furniture that I bought at second-hand stores and refinished or reupholstered, this would be a much longer post.
My most recent hobby is to spruce up our backyard. We have remnants of a nice flower garden that was here several renters ago, and I have been trying to make it pretty again. I never was fond of yardwork, and the only experience I have in the art of gardening is when my dad made me rake the yard with him in the fall when I was a kid. Thus, it has been a bit of a learning experience, and mostly trial and error. In terms of the planting of things, plants are surprisingly inexpensive! however, any sort of garden "decor" is not. Luckily, due to my trash-picking habit, I snatched up an arbor my neighbors threw out last year, and it has been sitting in my garage, taking up space that was meant for my car. I finally took it out yesterday and decided to fix it up. Now, it's not the most expensive arbor, it's actually made of plastic (basically glorified PVC), and all the pieces were falling out of it. That is where this wonderful product came in:
 |
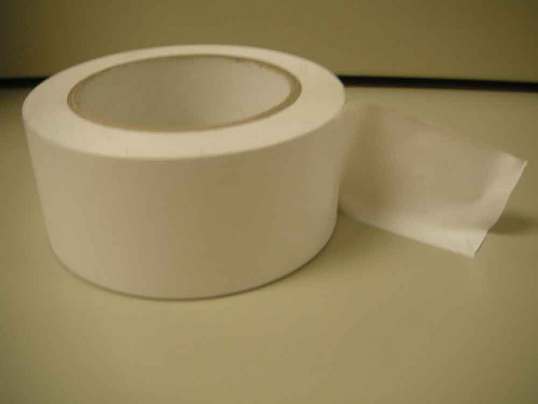
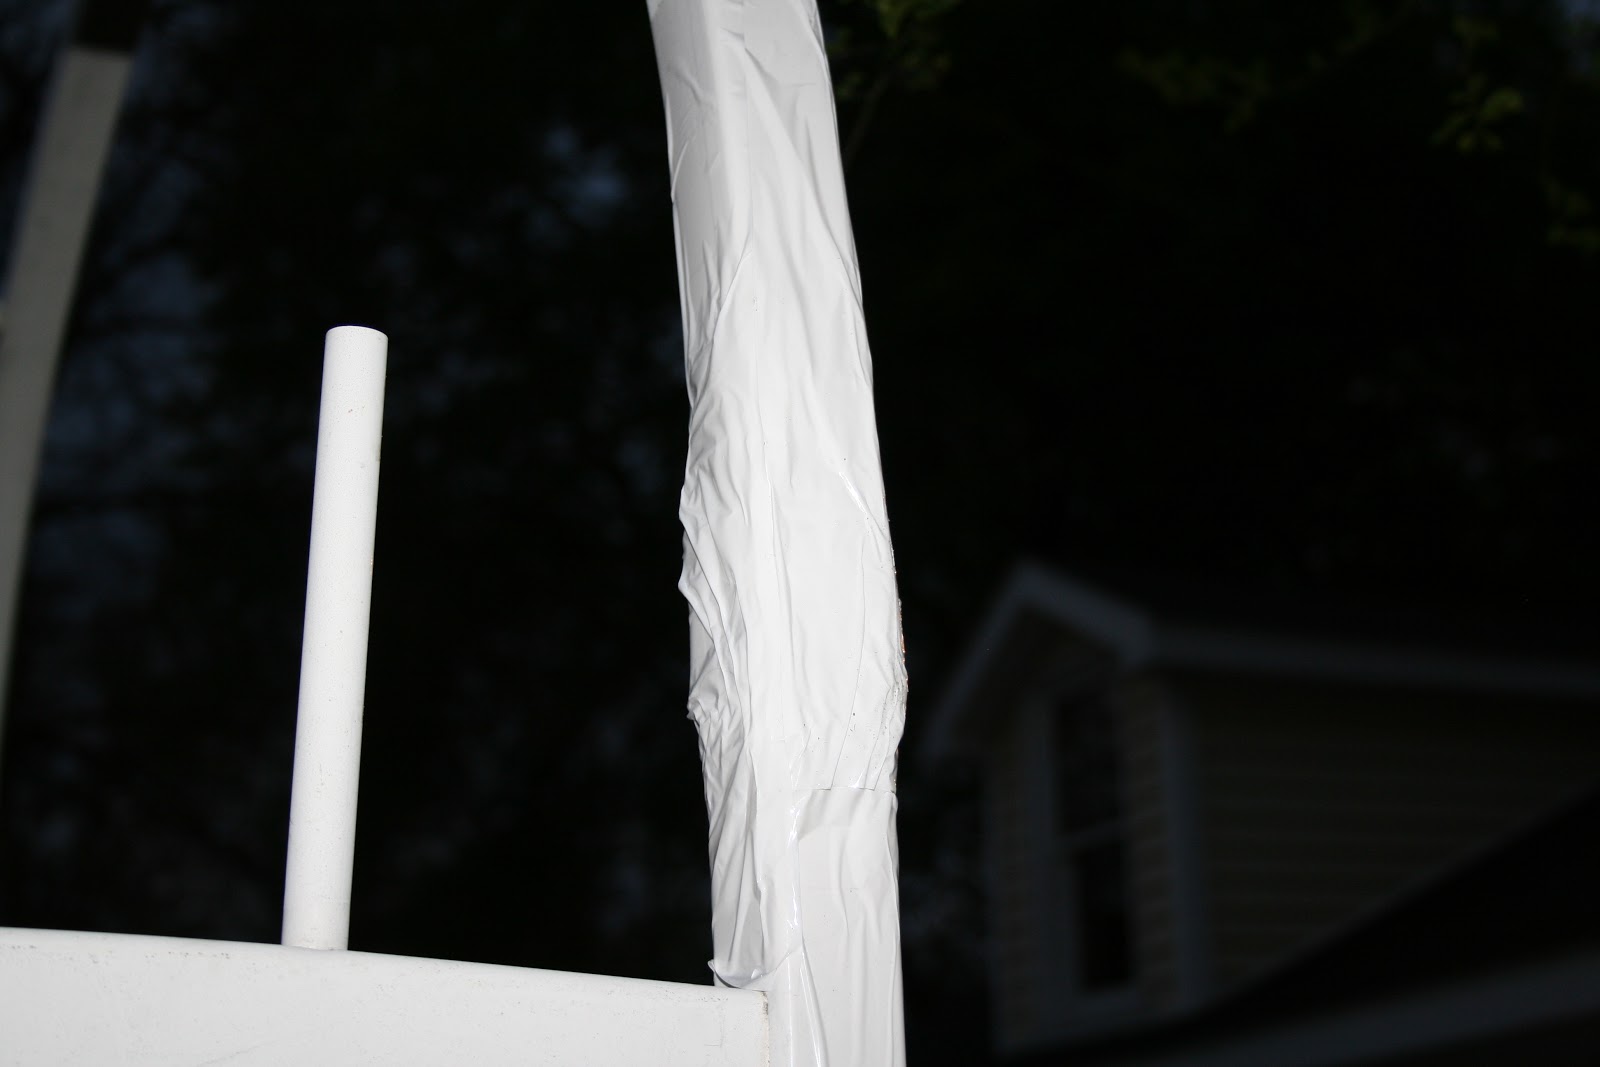
This is some mystery vinyl tape I found for a buck at Dollar Daze. It's kind of like a local outlet store, and I love the place. I've found great things there, but that's another blog post altogether. Anyway, this tape is white and shiny, the same texture/sheen as the arbor. So, the broken piece that was missing? I just taped over it. Now, the photo looks like it's glaringly obvious, but when you stand about three feet away, you can't even notice the repair.
Plus, I started some moonflower seeds today, so eventually I plan to have some vines creeping up this thing, which will further disguise my cheapo repair.

The fact that there are sunflowers and moonflowers are a total coincidence here. I bought the first white, climbing-vine flower I saw, and I thought that sunflowers would be fun to grow too. It works.
Here's the finished product as of yesterday. Of course, I have weeding and mulching to do still, but you get the idea. Would you have known that I found that on the side of the road? I didn't think so. I priced this arbor online, and it would have cost $140.00. I think that's a pretty good find.


Wednesday, April 18, 2012
Revamped Mail Holder
I bought one of those five dollar paper organizers so that I could help save our table from getting covered in mail by my husband each week. Unfortunately, since I was unwilling to spend over five dollars, I ended up with this:
So, I decided to use some of that Dollar Tree contact paper I had leftover, and some of my Heirloom White Rustoleum spray paint to spruce it up:


 |
| Ewwwww, it doesn't match anything! |

 |
| I only did a light coat of paint on the sides, because I just wanted to make sure the blue didn't show through. I wanted to maintain adhesion and the more paint that was on there, the less the contact paper would adhere. |
 |
| After the contact paper was added. I may add a clear coat of spray glaze to protect it, but I like the matte finish. I'm not sure yet. |


 |
| My new mail holder, in it's new home! Much better than the ugly blue! |
Seriously, I HAVE been knitting lately!
I want to apologize for my prior posts that are not knitting-related. I have been knitting quite a bit, actually, but I use my blog for other things, too. I have been thinking of branching off into two blogs, but it would be an awful lot of work to update my links, websites, etc. So, as long as my subscribers don't mind, I am going to keep it the same. In the spirit of my blog's title, however, I thought I would post some of my recently-finished projects:


See? I have been knitting, just nothing too post-worthy in itself. What have you been working on lately? Post your pics in the comments! Also, don't forget to like me on Facebook by clicking "like" in the column to the right! Thanks for your support!

 |
| I didn't want to give this one away! for my best friend, Cherish. |
 |
| Toddler-sized version of my Baby Chucks Booties. Brayden's dad is well-known for wearing neon colors, so I thought he and his new little brother could match daddy! |
 |
| A coffee cup cozy for a supervisor at work |
 |
| Fingerless mitts for my stepmom for mother's day (ssshhhh, don't tell her!) |

 |
| Another Lemon Curd Slouch hat for my best friend, Julie. |
 |
| Mittens for Julie |
 |
| Newborn version of Chucks booties for Brayden's baby brother |
 |
| Baby Chucks Booties made for my husband's pregnant coworker. |
 |
| A new pattern I wrote for Baby Bear Booties |
Refurbished School Desk
Why did my neighbor throw this out? Well, Unfortunately, I don't have a before photo, but this desk was disgusting. Just imagine your typical, run-of-the-mill classroom desk, and that's what this was. I really wanted to fix it up, so I used some paint I had on hand (leftover from my bathroom paint job), a little contact paper from the dollar store, and a clear-coat of spray glaze, and the end result is this:


Total cost: $1.00!!!!!
Monday, April 16, 2012
Homemade Mocha Drink Mix
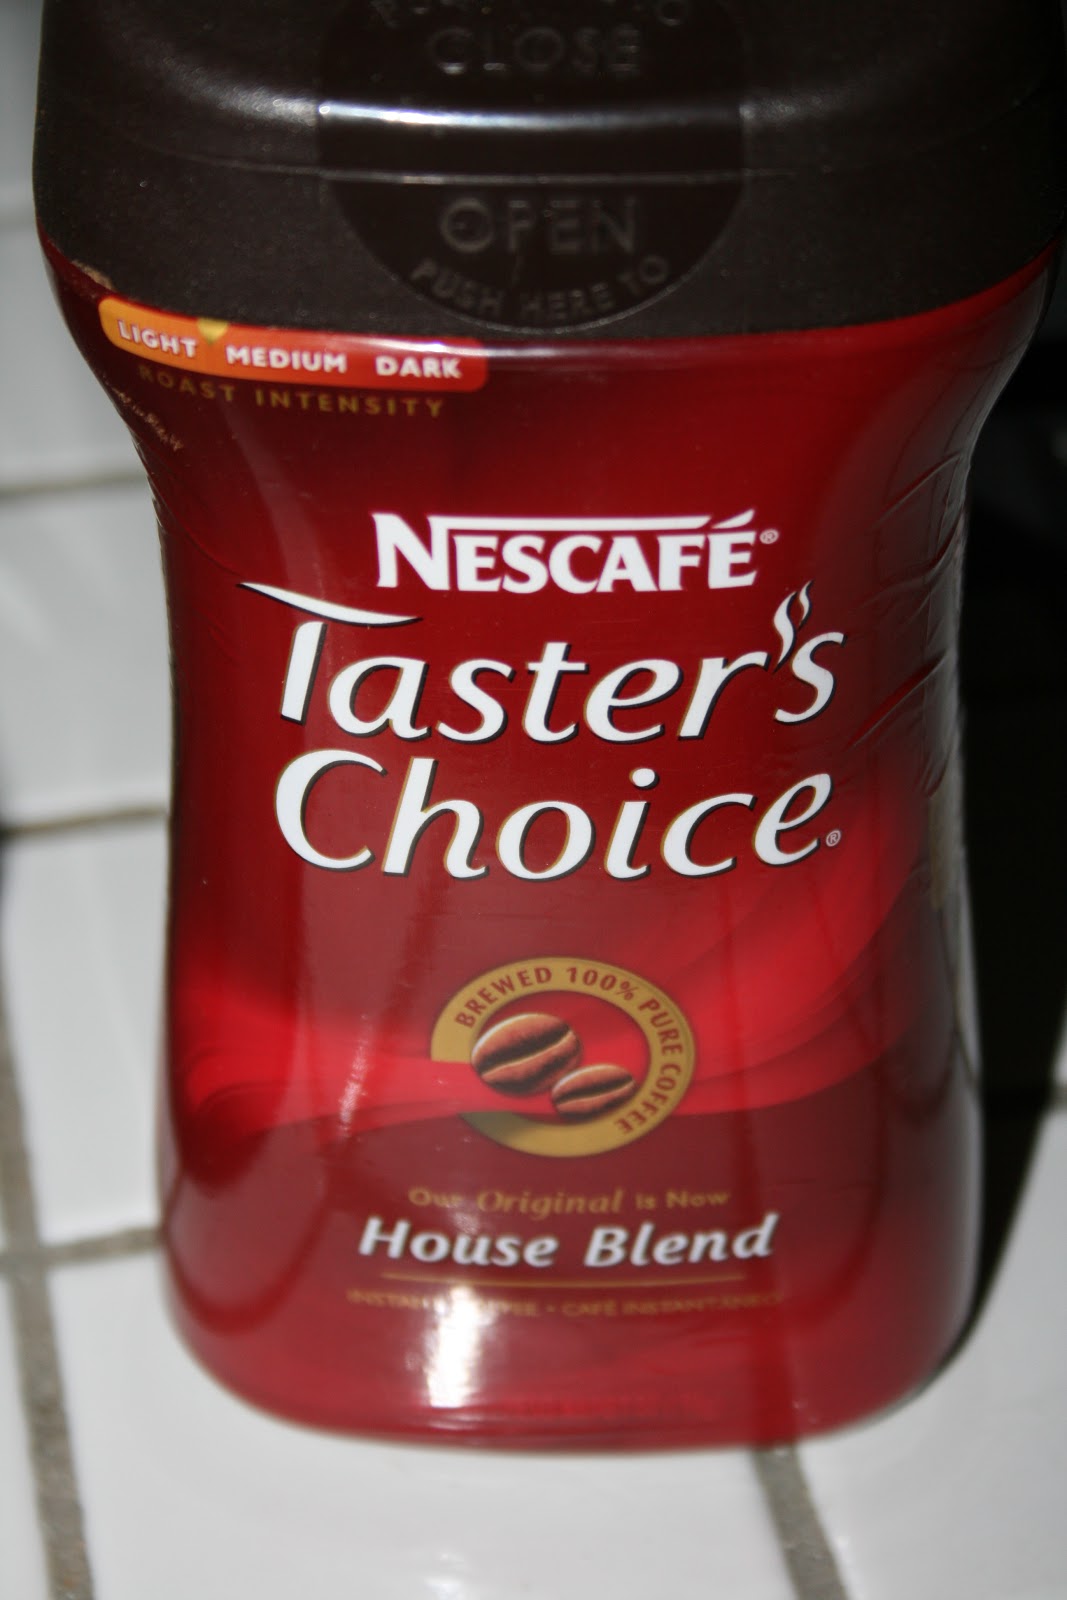
I am a huge fan of coffee. Generally, I just drink it regular (one cream, one sugar). If I want to get really fancy, I'll use some of this:


Today, however, I found myself out of mocha mix. Instead of going to the store and spending three bucks on another one, I thought I could make my own for much less money. So, I checked out the ingredients list:

Okay: Sugar, nondairy creamer, instant coffee, cocoa, and other flavoring. I think I can do this:


I have a few different jars of instant coffee around, so I took the jar that was just under half full. I filled it with sugar up to about an inch from the top. Seem like a lot of sugar? It's probably less than what you're drinking in your Starbucks every day, actually:
 |
| Visual representation of the sugar equivalent in a Starbucks Mocha, via Menshealth.com, totaling a whopping 660 calories, 22g fat, and 95g sugar for 20 oz. |
Next, I added about 4-5 tbsp of dark cocoa. I decided to omit the nondairy creamer, because it's bad for you.
After adding the cocoa, I screwed the lid on tightly and shook until mixed well:

It's a little darker than the original store bought mix, but since I omitted the nondairy creamer, I expected that.
To test it out, I put 12 oz hot water in a mug, and mixed 2 tbsp of my mocha mix into the water. I added about 2 tbsp of 2% milk, and this is the result:


Compare your Starbucks to this drink mix. Assuming you mixed 20 ounces of this Mocha mix, you would have 120 calories, 1 gram of fat, and 24 grams of sugar. That's assuming 4 scoops of mix for 20 ounces of liquid. For one serving (2 scoops in a 12-ounce mug), you have about 60 calories, 1/2 gram of fat, and 12 grams of sugar. Win!
When I add 2 tbsp of 2% milk, that brings it up to 74 calories, 1 gram of fat, and 14 grams of sugar, and all delicious! (Nutrition facts calculated at Recipe Calculator.) Isn't it amazing how much healthier something becomes when you take out the unnecessary junk? This also makes my drink mix much healthier than the store bought mocha mix! If you used 2tbsp of the store bought stuff, you would ingest 120 calories, 3 grams of fat, and 18 grams of sugar. I win! Not to mention the fact that my mix is a lot cheaper. Enjoy!
Saturday, April 14, 2012
Dollar Store Storage Bucket
I've been looking for some nice little baskets for my kitchen to hide my prescriptions in that doesn't look like crap. I couldn't find anything in the store that I was willing to pay for, so I made them myself:


Materials:
Contact paper from the dollar store
2 buckets from the dollar store
spray paint on hand

Before the spray paint


It looks like I paid a lot for these now but the total cost was 3 bucks!
Subscribe to:
Posts (Atom)