Recently, I attended an orientation conference at my company's corporate headquarters. The bonus part of this trip was that I was able to pick up a table I saw on our company's classifed ads, which I normally would have not considered buying because of the distance from my home. So, a couple coworkers and I took the trip down together, got a day off the phones to meet the president of the company, and they helped me pick up this gem on the way home:

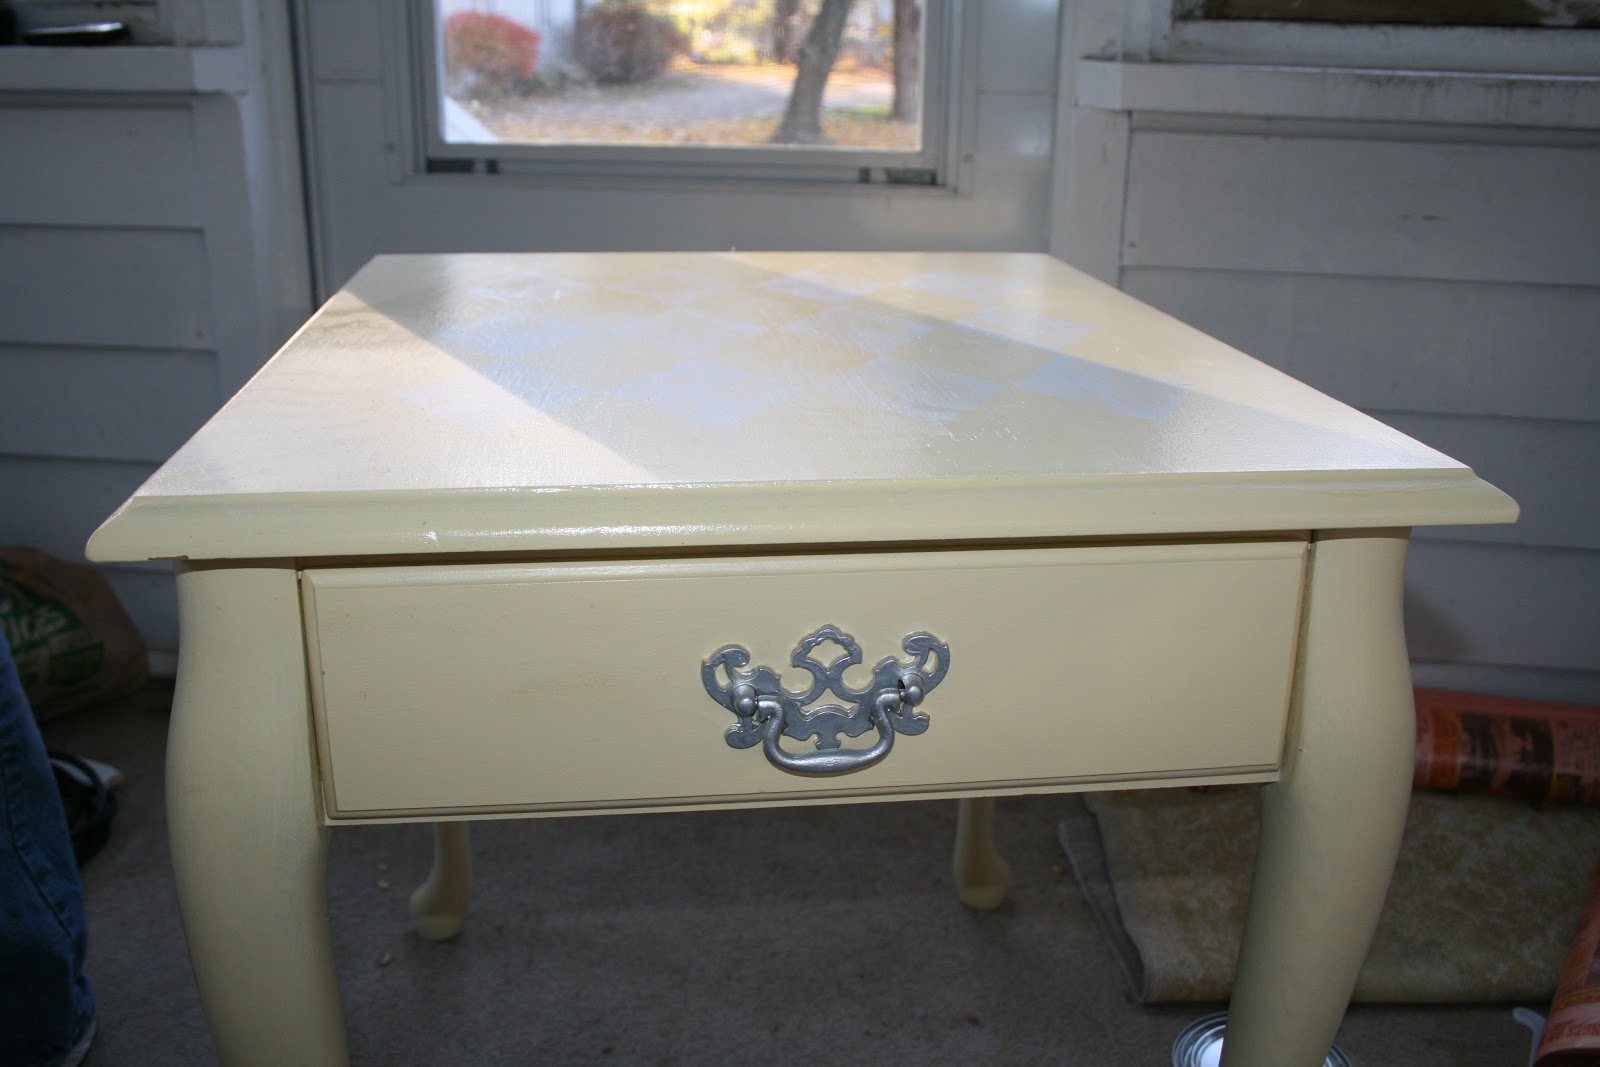
Obviously, the color needs to be fixed! This thing sat in my living room for almost a month with that yellow with pink argyle color scheme, which could only have been in a child's room at some point (let's hope). Also, whoever painted this thing didn't actually remove or replace the hardware; instead, they painted it with silver paint. Gross. Trying-to-be-crafty-and-decorate-your-baby's-room-yourself Mom, shame on you. I honestly think picking up a screwdriver would have been much easier than what you did. But no worries, I will fix your mistakes, inexperienced painting mom. On the positive side, I really think this probably looked adorable in some kid's room. Still, that is no excuse for the junky hardware paint job. But hey, for 35 bucks, it's still a heck of a deal for a solid table.
Materials:
Glidden paint in Swiss Coffee
Paint brushes from Dollar Tree (surprisingly good quality!)
My trusty Ridgid 8 amp power drill and bits
Spackle
Sanding blocks in rough and fine
Mod Podge
Scrapbook pages (or drawer liners, I used what I had on hand)
Guillotine paper cutter
Replacement drawer pull
Drop cloth
Painters' tape
I started by sanding the whole piece of furniture because it was painted with (ack!) glossy paint! I just sanded it enough to rough it up for proper adhesion of the new coat of paint. Next, I took my screwdriver (let's say it together, it's called a screwdriver!) and actually removed the hardware from the drawer. It would normally have taken me two minutes, but it took a bit longer since I had to pry off the painted-on drawer pull from the front of the drawer. Next, I put some painter's tape on the inside of the drawer to cover the holes from the screws. Then I went in from the front and filled those holes with spackle. If you don't tape the back of them, the spackle will just fall out the other side.
Once the spackle was dry, I sanded the face of the drawer very smooth. This spot was particularly difficult since miss mommy didn't remove the hardware at all, so the original wood finish was below that and a couple of layers of paint around it. Sanding it smooth took awhile, and I still didn't get it perfect. However, it's good enough for my satisfaction since the holes will be mostly hidden by the new hardware.
I then took my drill and drilled the new holes for the hardware. Of course, since I suck at measuring anything and inevitably screw up measurements, I usually "eyeball" everything. Because of this, I screwed this up on my first try and had to spackle more holes and sand some more. If you look closely in the photos, you may be able to see it, but I think I did an okay job of covering it up.
Next, I put 3 coats of paint on everything. The trick is to go with the grain of the wood as much as possible. I also use satin finish paint, because the brush strokes virtually disappear once it's dry--even using dollar store brushes!
The next part I wanted to tackle was the inside of the drawer.
Call me picky, but I prefer to have something protective/decorative inside drawers. I didn't have any contact paper on hand, but I did remember an old project from about 5 years ago, for which I used scented drawer liners and this:
It created a smooth, water-tight finish and it helped hold in the scent from the liners. I figured I could apply this technique to the scrapbook paper and have an equally as smooth finish. I started by decopauging the scrapbook paper to the inside of the drawer. I put Mod Podge on the bottom of the drawer, laid the paper over the top, and planned to spray glaze as the top layer once that dried.
You can see some air bubbles in this photo, but I took a pin and poked holes in the sides of them to flatten them before I went any further. I next took this outside and sprayed a thick coat of spray glaze on the inside of the drawer. That's when the horror began:
Oh no! My paper had become translucent! Actually I didn't mind that look. I left it to dry overnight and figured it would either dry as I saw it then, or it would become opaque upon drying. I was wrong. Unfortunatly I did not get a photo of the result because I had to get rid of it asap. Basically, it dried very blotchy, mostly clear as you see above, but with large sections that dried opaque. It looked like crap.
To remedy the situation, I tore out what paper I could, sanded it smooth, and slapped a coat of white paint on the inside of the drawer. After the paint dried, I put new paper in the drawer. Instead of putting spray glaze as a top coat, I stuck with just plain Mod Podge. I don't like Mod Podge alone because it is not waterproof, but I think once it is dried it will create enough of a barrier so that the spray glaze will not absorb into the paper and create the same problem as last time.
The Mod Podge is still drying in this photo, I'll update again once I try the spray glaze again. I'm pretty sure it's going to work!
So now, here's the finished product, and a curious dog who would not leave me alone:
Chunk makes it look good.